🔎Basic Terraform Configurations🔍
As part of the basic configuration we are going to set up 3 terraform files
Providers File:- Terraform relies on plugins called “providers” to interact with cloud providers, SaaS providers, and other APIs.
Providers are distributed separately from Terraform itself, and each provider has its own release cadence and version numbers.
The Terraform Registry is the main directory of publicly available Terraform providers, and hosts providers for most major infrastructure platforms. Each provider has its own documentation, describing its resource types and their arguments.
We would be using AWS Provider for our terraform series. Make sure to refer Terraform AWS documentation for up-to-date information.
Provider documentation in the Registry is versioned; you can use the version menu in the header to change which version you’re viewing.
provider "aws" {
  region                  = "var.AWS_REGION"
  shared_credentials_file = "<Your AWS Credentials File path>"
}
Variables File:- Terraform variables lets us customize aspects of Terraform modules without altering the module’s own source code. This allows us to share modules across different Terraform configurations, reusing the same data at multiple places.
When you declare variables in the root terraform module of your configuration, you can set their values using CLI options and environment variables. When you declare them in child modules, the calling module should pass values in the module block.
variable "AWS_REGION" {
  default = "us-east-1"
}
#-------------------------Variables For Autoscaling---------------------
variable "instance_type" {
  type    = string
  default = "t2.micro"
}
variable "autoscaling_group_min_size" {
  type    = number
  default = 2
}
variable "autoscaling_group_max_size" {
  type    = number
  default = 3
}
#-------------------------Data Block to fetch subnet ids---------------------
data "aws_subnet_ids" "GetSubnet_Ids" {
  vpc_id = aws_vpc.CustomVPC.id
  filter {
    name   = "tag:Type"
    values = ["Public"]
  }
}
Versions File:- It’s always a best practice to maintain a version file where you specific version based on which your stack is testing and live on production.
terraform {
  required_version = ">= 0.12"
}
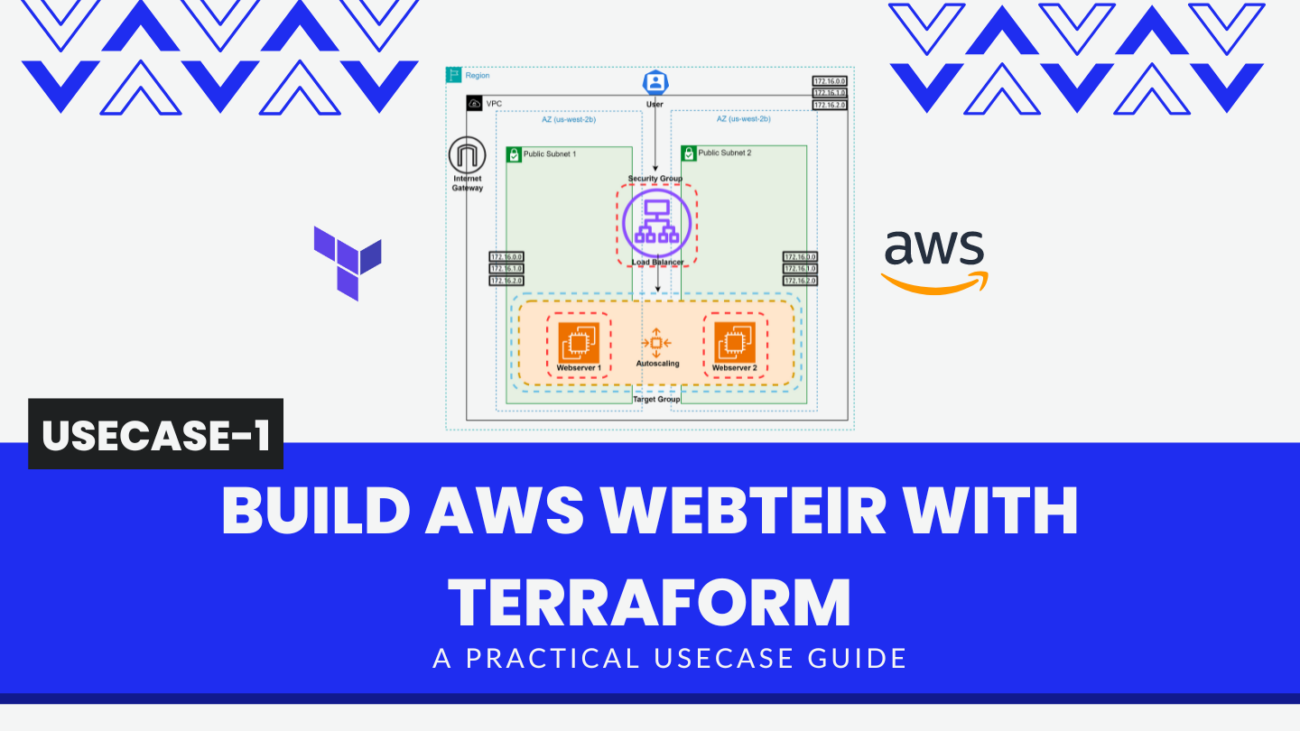
🎨 Diagrammatic Representation 🎨
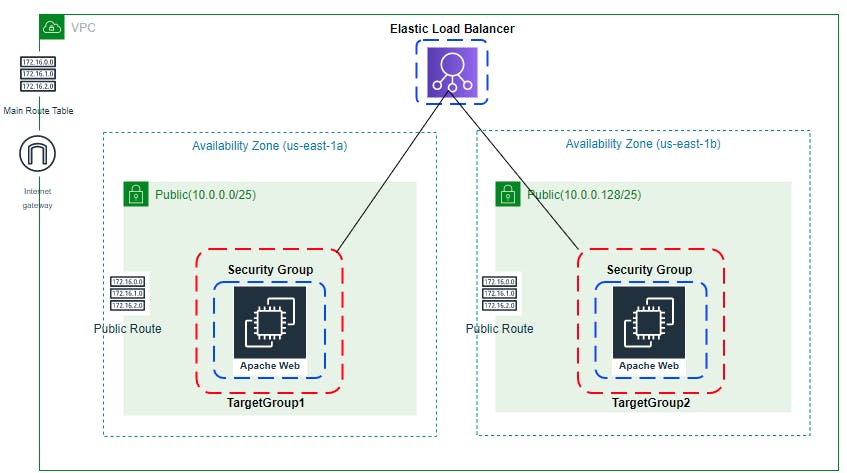


Author - Dheeraj Choudhary

Automate S3 Data ETL Pipelines With AWS Glue Using Terraform
Discover how to automate your S3 data ETL pipelines using AWS Glue and Terraform in this step-by-step tutorial. Learn to efficiently manage and process your data, leveraging the power of AWS Glue for seamless data transformation. Follow along as we demonstrate how to set up Terraform scripts, configure AWS Glue, and automate data workflows.
Automating AWS Infrastructure with Terraform Functions
IntroductionManaging cloud infrastructure can be complex and time-consuming. Terraform, an open-source Infrastructure as Code (IaC) tool, si ...
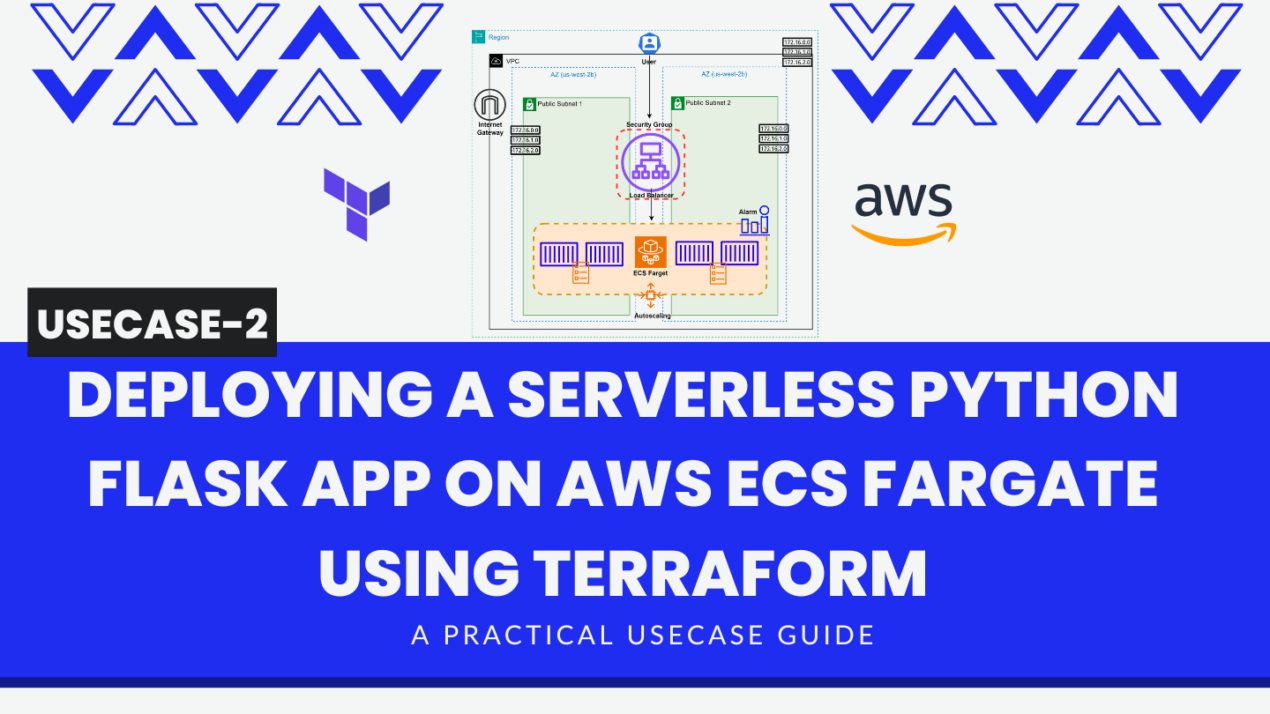
Deploying a Serverless Python Flask App on AWS ECS Fargate Using Terraform
Learn how to deploy a serverless Python Flask app on AWS ECS Fargate using Terraform. This step-by-step guide covers everything from setting up your AWS environment to writing Terraform scripts and managing your Flask application.